Product groups allow you to group products into larger entities, which makes it easier to manage large quantities of products when creating sales invoices. Product groups are company-specific.
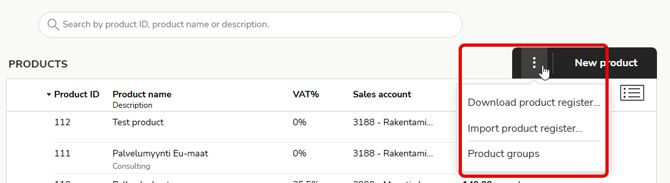
1. Open the product register (Sales Invoicing - Products) and select Product groups from the three-dot menu.
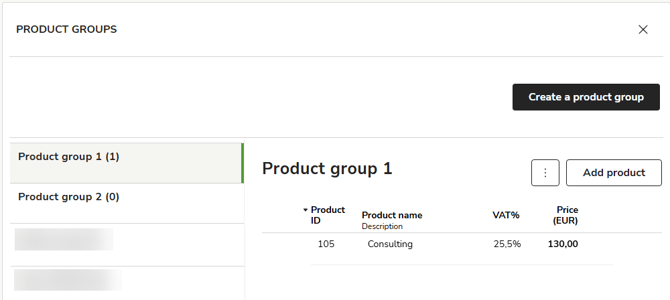
2. In the Product groups view, you will see all existing product groups on the left. The number of items added to the group is displayed after the product name.
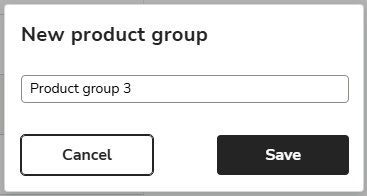
3. Select Create a product group at the top right if you want to create a new group.
4. Enter a name for the product group (maximum 45 characters) and select Save.
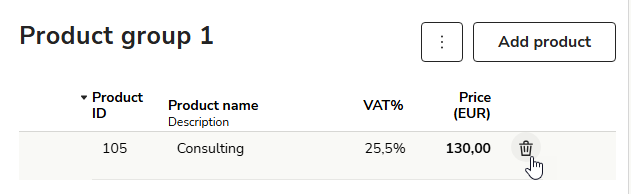
5. Open the product group and select Add product.
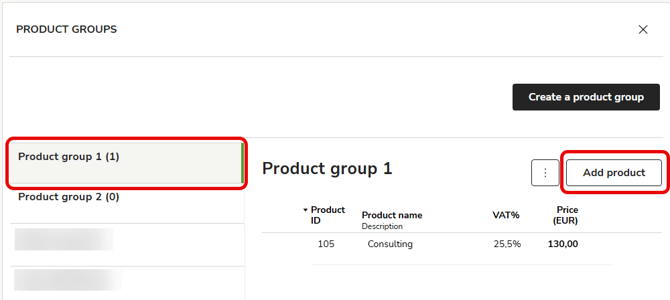
6. Select a product from the product register and select Save.
A product can only belong to one product group, so you cannot select a product from the list that is already linked to another group.
7. Remove a product from a product group by clicking the trash can icon on the product row.
8. To delete a product group, open the product group and select Delete product group from the three-dot menu.

9. To change the name of a product group, select Rename from the three-dot menu.