The customer register allows you to manage customer information. The information is used for sales invoicing.
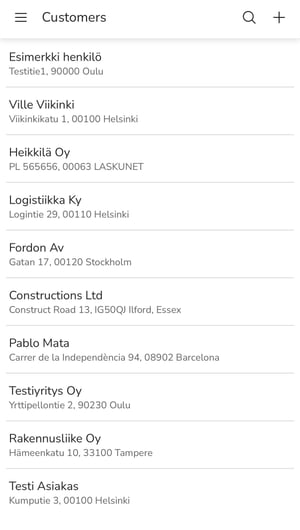
1. Select Customers from the main menu of the mobile app.
2. Add a new customer by selecting + in the upper right corner.
3. Select the customer type (company or person).
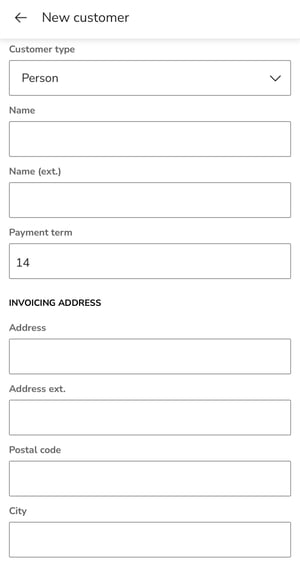
4. Fill in the customer's information.
- Name: Customer's name (maximum 45 characters).
- Name extension: You can enter the name of the recipient or department in this field.
- Business ID (only for business customers): Finnish business customers must be given a business ID in the format 1234567-8. If the ID is incorrect, the program will notify you. If the company does not have a business ID, select person as the customer type.
- VAT ID (for business customers only): Finnish VAT IDs are in the format FI99999999. VAT numbers are formed differently in different countries, but they always start with a country code followed by a series of numbers or characters (e.g., EE999999999 or SE999999999901).
Check the validity of a new customer's VAT number (VAT ID) before using it for EU trade invoicing and add it to the customer card.
- Payment term (days): Number of days from the invoice date to the due date. The recommendation for consumer customers is 14 days.
- Invoicing address:
- In the address extension field, you can enter, for example, the name of the district or area (foreign addresses).
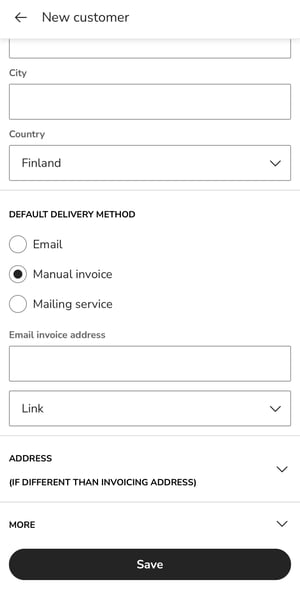
- Postal code and city: You can also enter a foreign postal code in the postal code field. Finnish postal codes must be five (5) digits long.
- Default delivery method:
- E-invoice: If the customer (business customers only) has an e-invoice address, the program will automatically retrieve the address after adding the business ID. Select the e-invoice address and intermediary ID from the selection list. If the e-invoice address cannot be found, check the business ID and/or search manually in the e-invoice address list.
- Email: If the customer receives invoices by email, add the customer's email address and select whether the invoice will be sent as an attachment (in PDF format) or as a link in the email message.
- Mailing service: The invoice will be sent by letter to the invoicing address.
- Manual invoice: The invoice is not sent from the program, but is delivered by the customer.
- Invoice address (if different from invoicing address)
- More
- Phone number, Mobile phone, Email: Additional information about the customer.
- Cash discount % and Cash discount days: Information about cash discounts that is used by default on the customer's invoices.
- Reminder and collection block: Prevents reminders from being sent or invoices from being transferred to collection for all invoices for the customer in question.
The block is only set for new invoices for the customer. If you want to block existing invoices for the customer, you must set the block for each invoice individually.
-
-
Invoice template language: The default language is selected as the invoice language.
-
Message for invoice: Customer-specific message for invoices.
-
Receivables account: The default is usually 1701 Accounts receivable.
-
Sales account: The default VAT % and sales account selected for the customer, which are used by default in the invoice rows added to the invoice, regardless of the VAT % and sales account selected for the product.
-
Sales are recorded in the selected sales account and appear in the income statement for this account.
-
-
Dimensions: If dimensions are in use, you can select, for example, the cost center, cost type, and project for the customer, which are used by default in the invoice lines added to the invoice, regardless of the dimension selected for the product.
-
5. Save the customer card.
6. If you want to edit the customer's information, open the customer card from the front page of the customer register and edit the necessary information.
7. If you want to delete the customer's information, open the customer card from the front page of the customer register and select the trash can icon in the upper right corner.